Page 88 digresses into fashion history-- the evolution of pockets, buttons and buttonholes, pleats, hems and zippers. Then on page 90 there is a blurb about hemlines and Wall Street-- higher skirts when times are flush and longer when times are tough. There is a pretty cool picture of skirt lengths through the decades although it seems like even though the 1950's was prosperous, skirts were still longer than the 1940s (due to fabric shortages in the 40's probably but then that contradicts the whole theory).
My take on this is that while there are some great productivity shortcuts that can be employed when sewing garments, it is probably best to use those with tried and true (TNT) patterns that have already been fitted. You can even trim out the seam allowances to 3/8's inch to eliminate lots of trimming and clipping. But with a new pattern, it is probably better to follow the advice in the book-- but I like to just baste a muslin together first before I cut my fashion fabric. Once all your changes have been applied to the paper pattern, you are golden until you have some weight/size changes in which you have to start all over again. If you are like me and have frequent weight fluctuations, you might want to write the date, your weight and key measurements (bust, hip) on the pattern and save it as you might see that size again. Sometimes shooting a picture and putting it in the pattern is good too. The best way to get better at sewing techniques is to practice them. Which is kind of a pain as I would rather be making something rather than doing drills. But once you do 10 welt pockets or bound buttonholes, they become less difficult or intimidating. Yesterday I was at the Salvation Army and looked at a short sleeved top made from the 70's in that thick polyester. It had bound buttonholes! Totally unexpected.
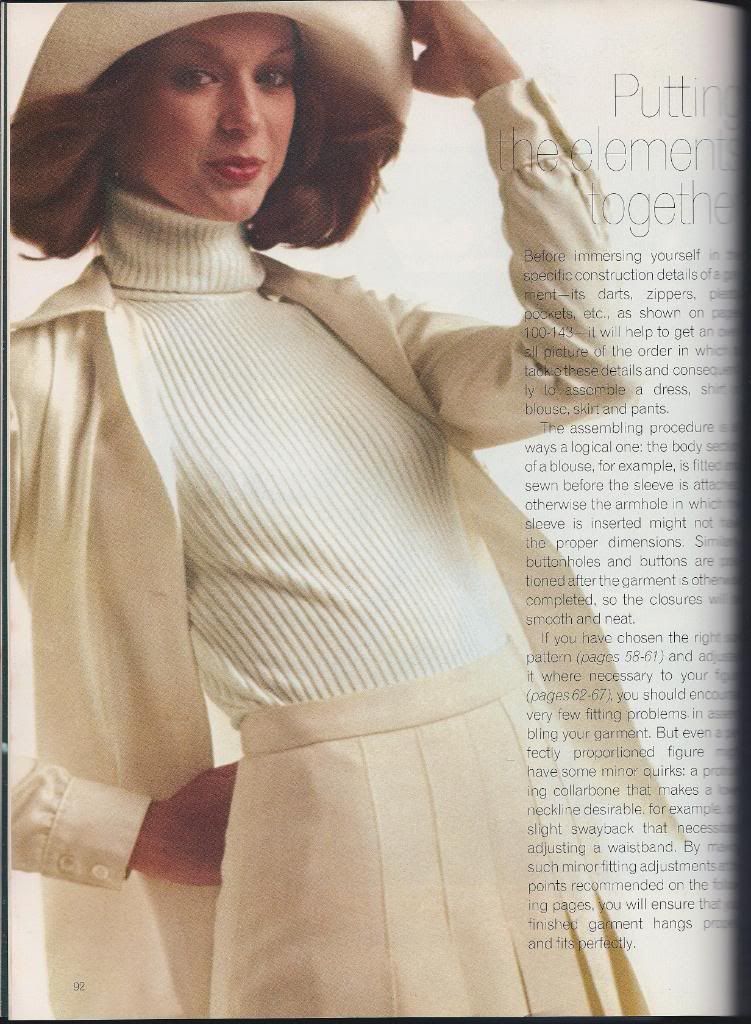
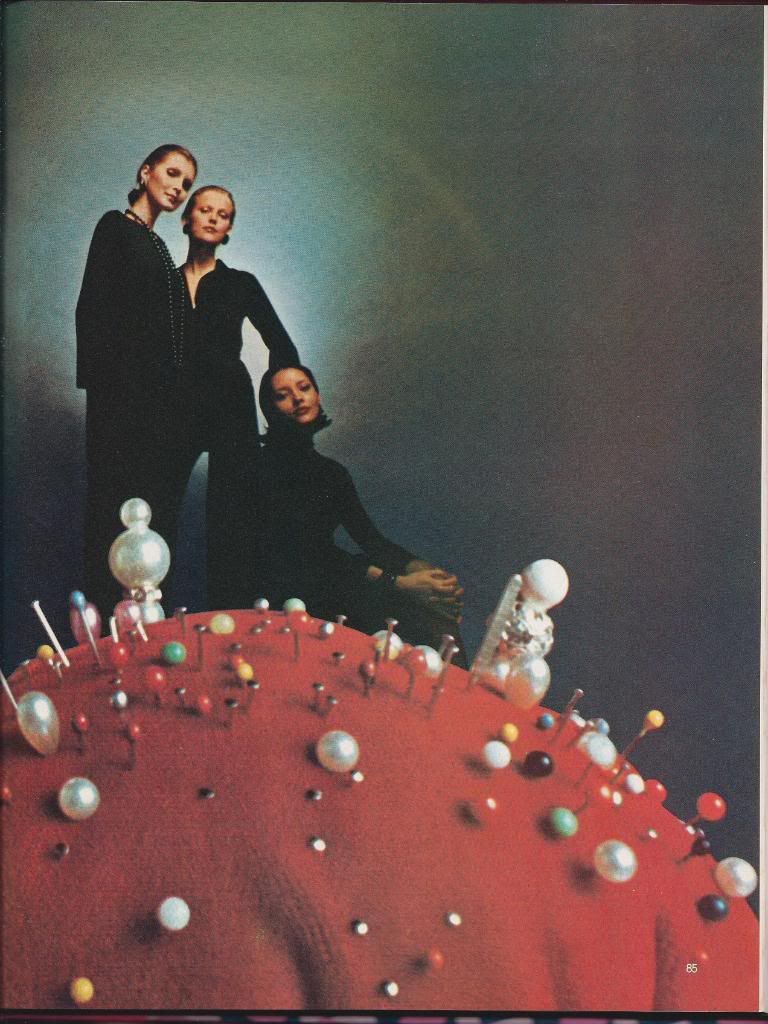
The pictures in this chapter of which I have shown 2 of them are very 70's cool. I love the cream skit and the flip hairdo. I think today, that would be too much cream and probably too covered up--turtleneck with long-sleeved overshirt? I would wear a different color jacket but the garment styles are still relevant and would not look out of order today.
The drawings of the different garments for the assembly directions are in 2 tone blue with black stitch lines to illustrate the seam lines similar to the old McCalls two color pattern instructions from the 1970s. They title the clothing items as "The Classic Dress and show one with bust darts and one with princess seams, "The Classic Shirt" which could be a man's shirt or a woman's shirt but has no collar stand nor bust dart, "The Classic Blouse" which has sleeves gathered at a smaller cuff and bust darts, "The Classic Skirt" which allows for pleats and/or darts and a waistband and zipper also another model with a front closure; "The Classic Women's Pants" with darts, zippers, waistband, no waistband/facing and pockets; "The Classic Men's Pants" with the standard fly, pocket and waistband.