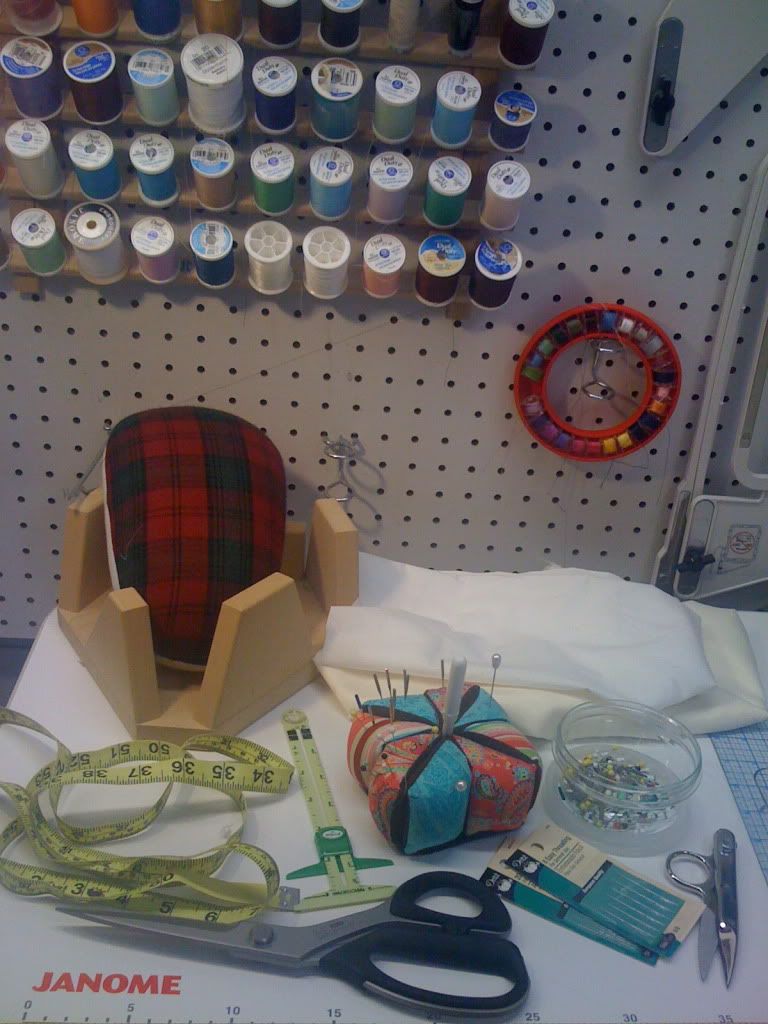
Historically, a seamstress may have a basket holding at minimum a thimble, pincushion, needle box with sewing and darning needles, a measure tape and a box to hold spools of cotton thread.
Today things are a bit more complicated. While we all have our favorite notions and what a selection of notions can be found; the essentials are still as easy to select.
The 60 inch tape measure in fiberglass that has inches on one side and centimeters on the other;
The 2 inch by 18 inch clear plastic ruler, yardstick and metal seam gauge;
Pressing cloths, sleeve board and ham;
Sharp shears to cut fabric, smaller ones for buttonholes, trimming and snipping threads ...... I think we have run out of room in that sewing basket!
Most of our time though is spent going back and forth between the sewing machine and the steam iron; the main tools of construction.
The sewing machine of today can be a very basic mechanical machine handed down from a relative or found at a garage sale for a few dollars or a technological marvel hosting its own software, firmware and motherboard rivaling the cost of a subcompact vehicle. Most every seamstress has a strong opinion on the most effective machine, it is really a matter of personal preference. The chapter discusses the history of the invention of the sewing machine.
The book informs mostly about American inventors from Walter Hunt to Elias Howe to Isaac Singer. I prefer a more global view enumerated here: Who invented the sewing machine? Wouldn't you know, the savvy marketer and not the innovative inventor stole the thunder.
When selecting a machine, the author recommendations are:
1. The ability to sew a straight and zigzag stitch,
2. Includes a zigzag foot, straight stitch foot, buttonhole foot or attachment, zipper foot.
3. The choice of a heavier machine (!) as they should perform better than light ones that may move about the table during use. --I don't know if that is still an issue. Maybe some with ultralight machines may wish to weigh in?
4. Choose a machine a little beyond your skills so you have room to grow.
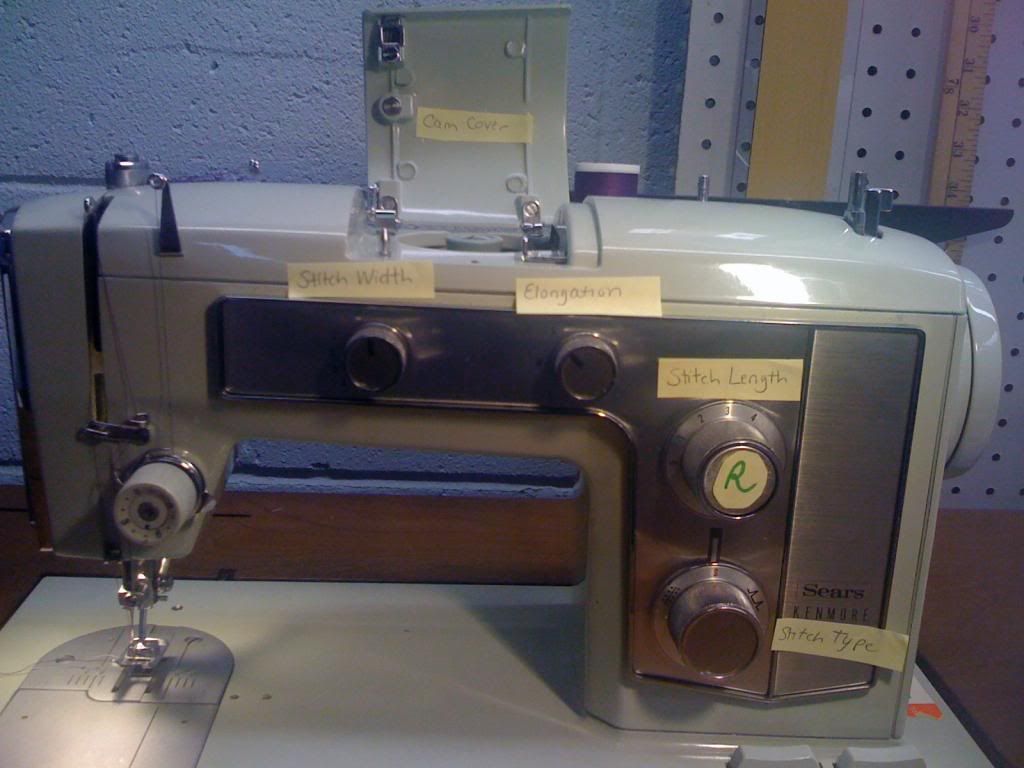
Whatever machine you choose, the most important thing is to learn to use it. In light of the year these books were published, I plan to use a vintage Kenmore that was popular at the time. Like with any machine, before use, review the manual; you can even label the knobs on your machine until you become used to it.
The photos of the book show a Singer Touch and Sew. It is in black and white so I cannot tell which model but it may be a Golden.

Needle size: size 14 standard for woven, if sewing on knits use a size 14 ballpoint needle.
Thread--No. 50 mercerized cotton or polyester. Use cotton with natural fabrics and polyester with man made fabrics.
Stitch Length: Set the machine to sew at 12 stitches per inch for a basic seam. For basting set the machine at 6 stitches per inch.
Your machine may not have spi (stitches per inch) measures. The machine I used had numbers for stitch length 1-2-3-4-- shortest to longest. It is helpful to sample and measure the stitches so you know what your machine stitches.

Preparing To Sew: Of course, when these books were written, there were no computerized machines available so this would really only apply to a mechanical like the one shown. Turn the hand wheel until both the needle and the thread take up lever are at their highest positions (In order to prevent the thread from escaping the needle). Pull out 6 inches of thread from the needle and the bobbin. Lower the feed dogs and place the needle down into the fabric. After sewing raise the take up lever to the highest position, raise the presser foot and pull out the fabric.
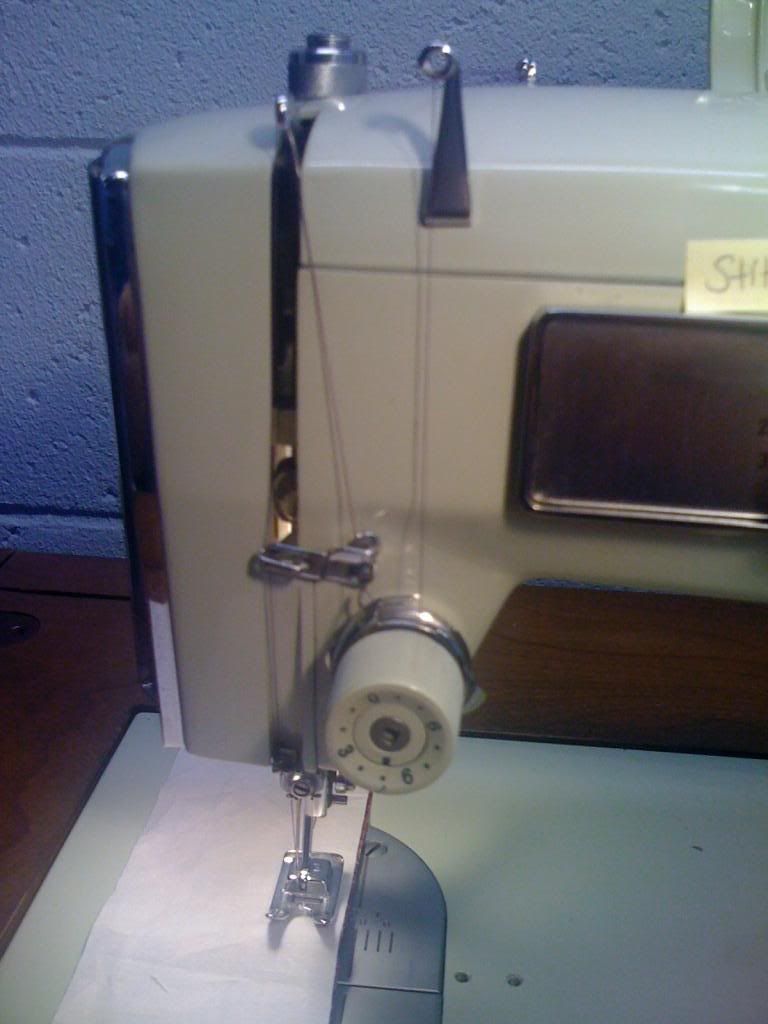 |
| Needle and take up lever at highest level. Before starting and removing material. I wheel the needle down before stepping on the foot pedal. |
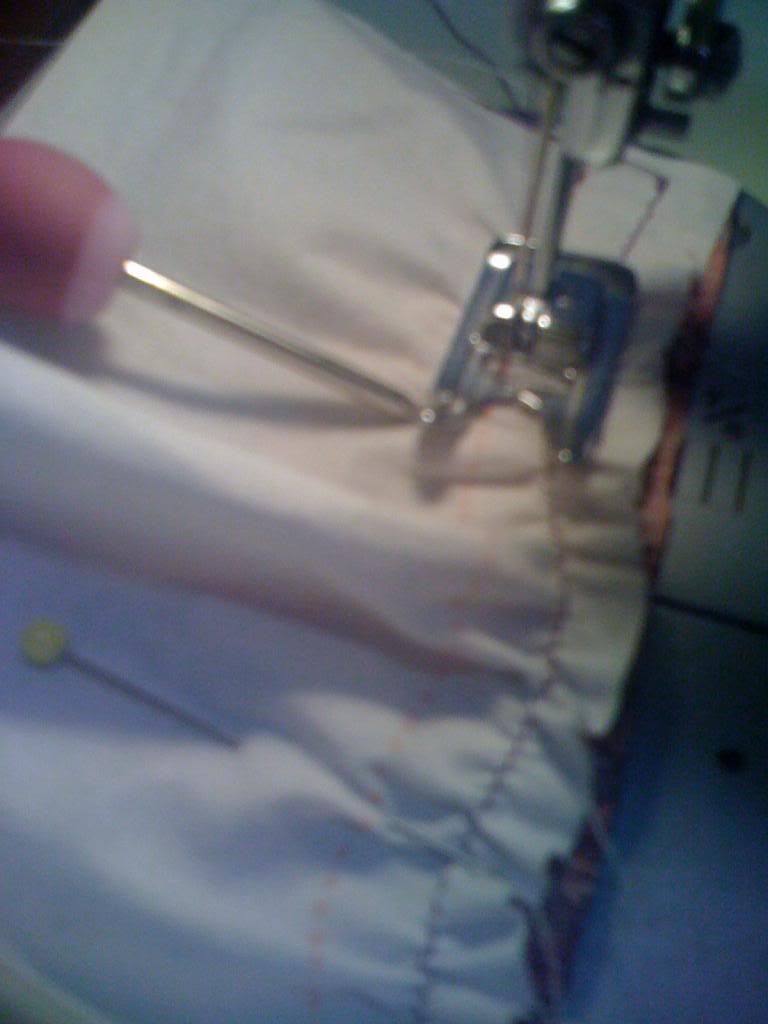
Use the thread cutter on the back of the machine, or scissors to cut needle and bobbin threads. If the threads are on the same side (like after sewing a dart) tie a knot close the the stitching and trim. If they are on separate sides (like after sewing a seam), tug the lower thread to pull down a loop from the upper thread; using a pin, capture it, pull to the other side and knot, trim.
 |
| Pulling the thread from the top to the bottom and tying off. |
* I always start with needle down to prevent jamming and bobbin nests. I usually back stitch at the ends of seams and clip the threads. On darts, I don't knot, I bring it back, stitch on the seam allowance so there is a little loop at the inside of the dart which helps prevent puckers when I press. There are many updated sewing techniques that are easily accessed.
Sewing a Straight Seam:
For a permanent seam, lower the needle 1/2 inch from the beginning edge of the seam. Lower the presser foot, reverse the machine and sew backward to the edge. ( If basting, begin at the edge and do not backstitch.)
Sew forward from the edge over the backstitches and continue along the tracing wheel markings.
Do not pull or push fabric, allow the machine's feed dogs to feet the fabric, only guide and control to keep seam line aligned with needle.
Sew to the edge of the seam, back stitch 2 or 3 stitches. Remove the fabric and cut thread as described above.
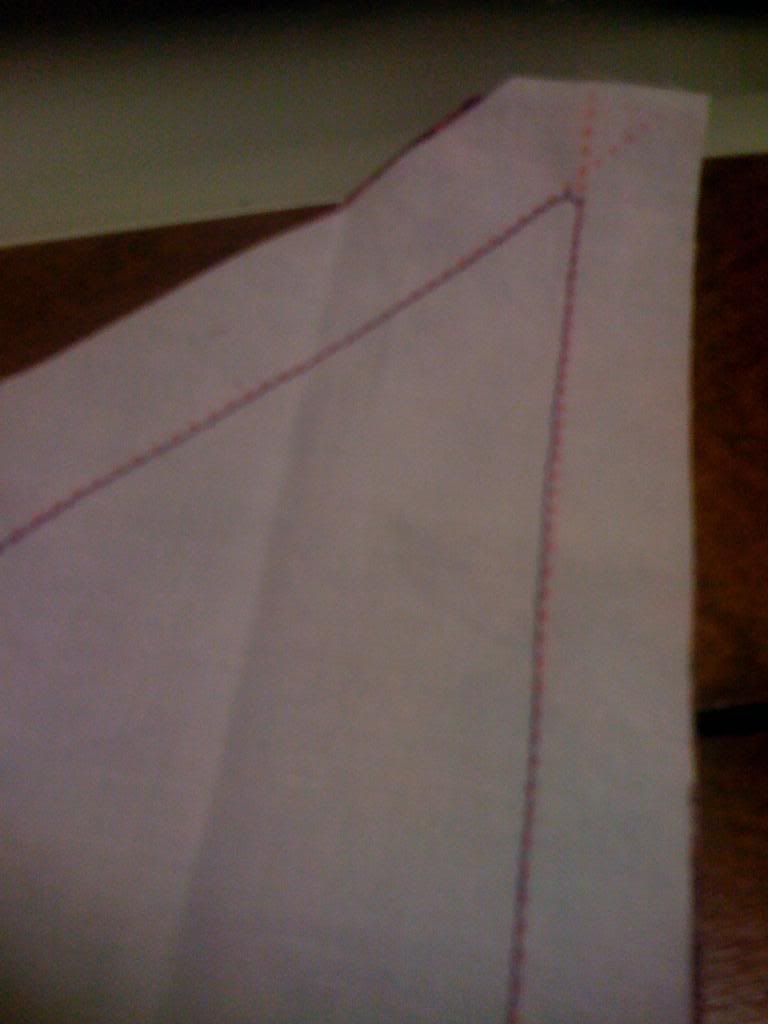
Sewing Angles:
Right angle: sew to the point of the angle, put needle down, raise pressure foot and turn fabric 90 degrees; drop pressure foot and proceed sewing.
For an Acute Angle: sew to within one stitch of the point; put the needle down, pressure foot up and pivot the fabric half way, lower pressure foot and make one diagonal stitch and leave needle down. Raise pressure foot and pivot again to sew along the seam line.
Sewing Curves:
Curves need to be reinforced so they do not stretch out. Stay stitch (which just means to stitch on one layer of fabric)-- regular length stitches 1/16 inch into the seam line (outside the seam markings). When you sew the curved seam, make the stitch length smaller -- about 15 stitches per inch -- and sew slowly using your hands to guide the fabric.
 |
| Stay stitch the unstabilized fabric (usually the public side) and then sew. |
Eased seams: While sewing an eased seam, use a seam ripper or awl to flatten out puckers just before it passes under the needle, go slowly.
Edge stitching-- The pictures feature the straight stitch foot that is commonly used with singer straight stitch machines. As you can see, one side is very thin, and the other is thick. The author recommends that you use the inside edge of the short toe. If using an all-purpose foot, use the right toe. This is a nice stitch on a collar. To turn a corner, put needle down at the point, raise the pressure foot and pivot the fabric as for the sharp angled seam. Use an awl or seam ripper to push the point under the pressure foot.
Topstitching--Use the numbered lines on the throat plate as a guide to top stitch a straight line more than 1/4 inch from the fabric edge. Use a nearby seam as a guide for any line of stitching more than 3/4 inch from fabric edge. You can even just measure it yourself and put a homemade seamguide if you don't see the markings that well. Some machines don't have very obvious measures. There are also top stitching or quilter guides that come as an accessory to your machine.
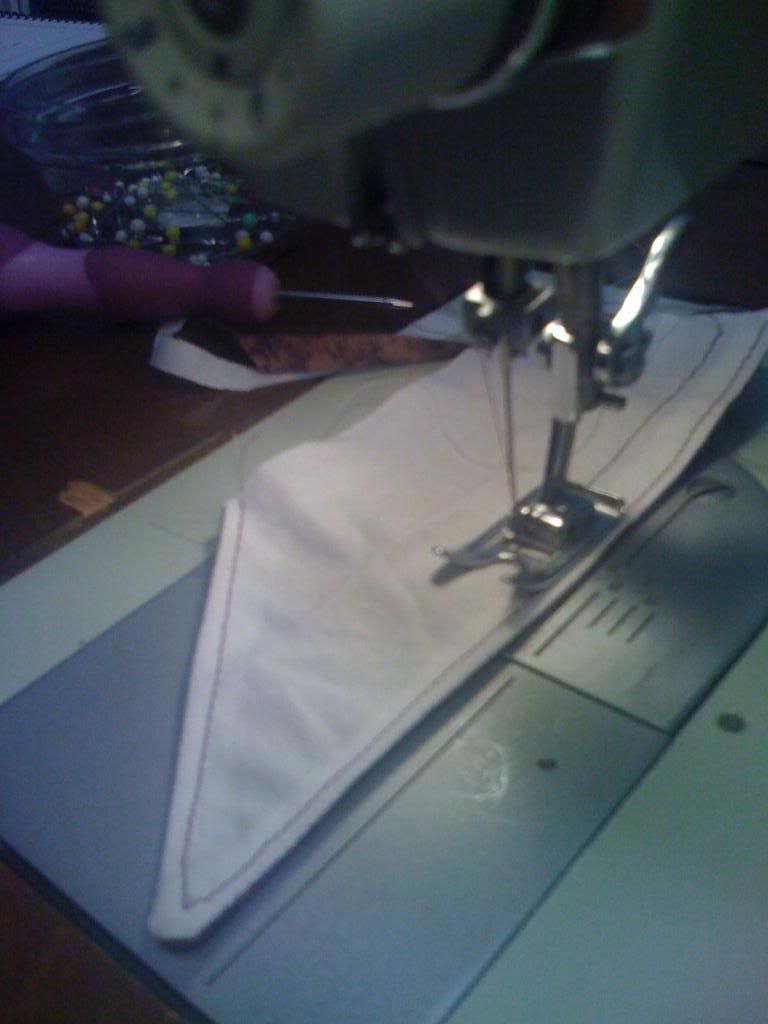 |
| As you can see, my edge and top stitching need a little more finesse. Practice many samples on your machine to get more proficient with the different techniques. |
Sewing Zippers-- when sewing on a zipper use the zipper foot that allows you to move the foot to the left and the right of the needle so you can stitch close to the zipper teeth and avoid the pull and the teeth from interfering with the stitching.

Ripping out a Line of Stitching (yes, we all have to do it).
On one side of the seam, use your seam ripper to cut stitches at one inch intervals. On the other side, pull out the thread. Make sure to pick out any thread bits leftover.
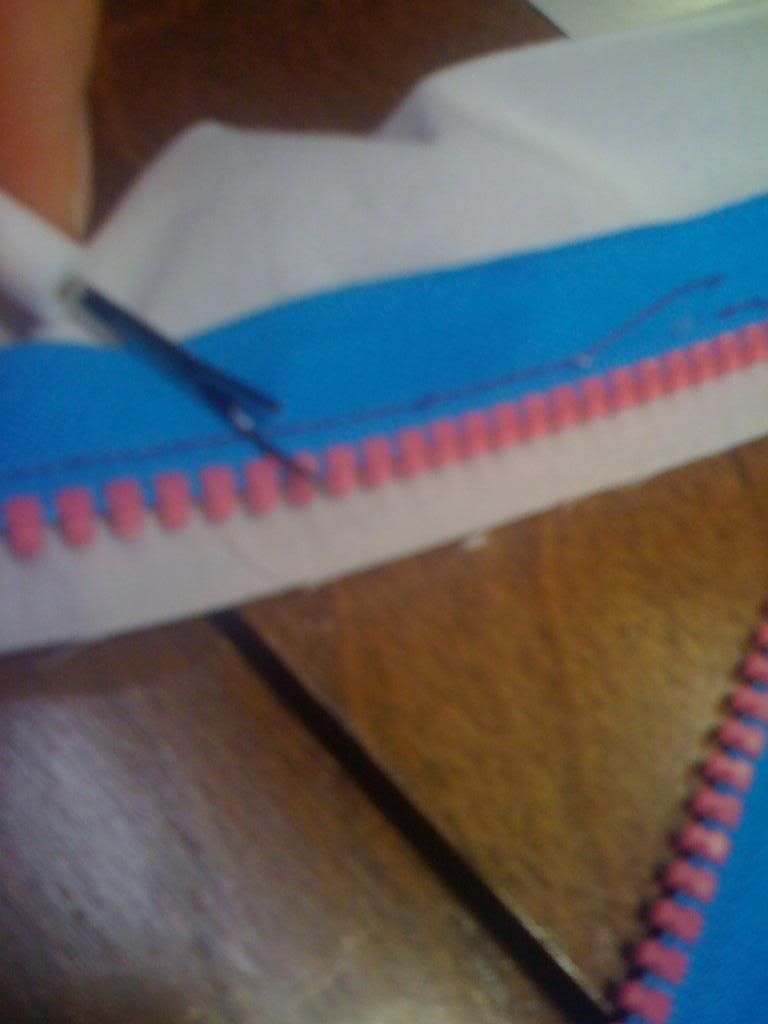 |
| Zipper sewn in upside down! |
Sewing Knits-- Bear this in mind--This book was written before home sergers or overlock machines became available for the home sewer.
The early 1970s saw the Stretch and Sew technique. AT this time the polyesters and double knits became more available and women were cranking out mini-dresses, dress vests and pantsuits like there was no tomorrow. By the mid 1970's it was disco shirts,disco skirts and leisure jackets.
This is how they did it: After the first stitch, use one hand to pull the knit fabric taut in front of the needle while the other hand is pulling the threads in back. As more fabric becomes available in back, grasp it with the thread holding hand and stretch the fabric taut as you sew. When sewing a curved seam, reinforce it by sewing a row of small stitches (15 stitches per inch) on the stitch line and then sew a second row 1/16th inch from the sewn seam in the seam allowance.
To rip out, spread the seam and cut the thread, repeat until seam is apart. Finish raw seam edges with a zigzag 1/2 inch in from the seam, trim.
It is wise to review your sewing machine manual and practice all the functions on scraps to get a good idea of how your machine runs and good practice. I think today's knits would not recover well with the 1970s method.
Stay tuned for Part 2: The Steam Iron!
No comments:
Post a Comment